XC Basics
PDF Version: Extreme Collaboration Basics
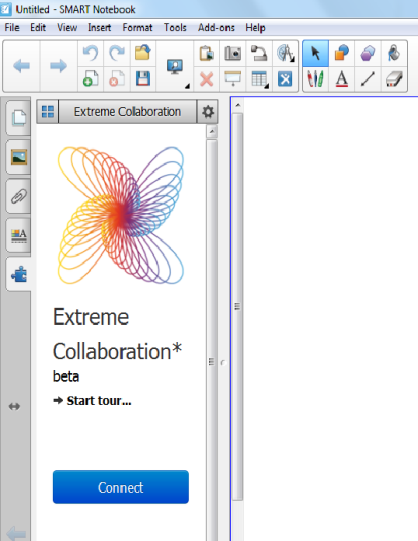
- Open SMART Notebook 11 on your desktop.

- Click on the puzzle piece tab, found on the left hand side of window.
- Click on Extreme Collaboration.
- Click connect and the program will take you to the activation page.
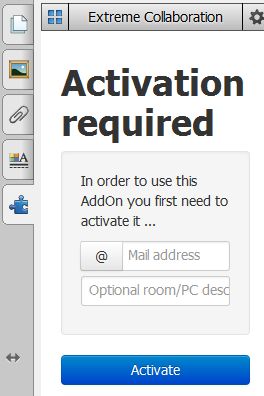 Enter your e-mail address in the box provided.
- Press activate. An e-mail will be sent to your address.
 Access the e-mail sent from Extreme Collaboration and press on the link attached in the e-mail. The e-mail will send you to the Extreme Collaboration website.
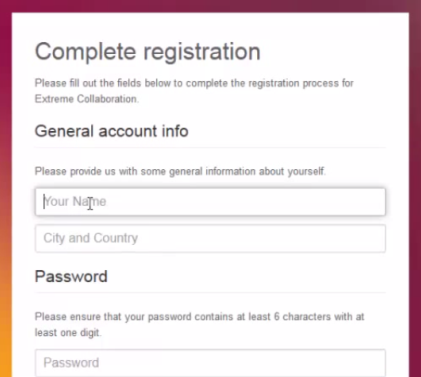
- Fill in the form to complete the registration by:
- Entering your name
- Entering your city and country
- Entering a password
- Verifying your password
- At this point, if you choose to, you can enter a class list by clicking on the "Add your first class list" button.
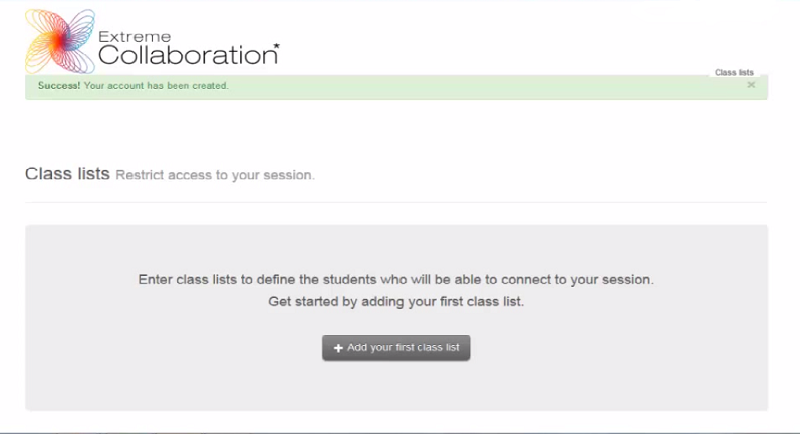
- After this is completed, go back to SMART Notebook 11 and click on "Check activation".

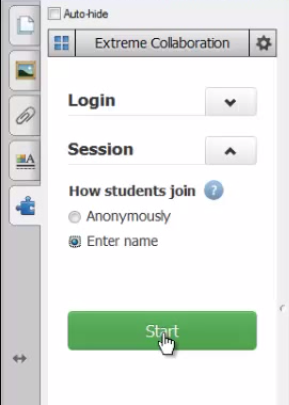 To begin using the program, click on the arrow beside "Session".
- Choose whether you want students to join "Anonymously" or "Enter [their] name".
- Click on "Start" to begin the session.
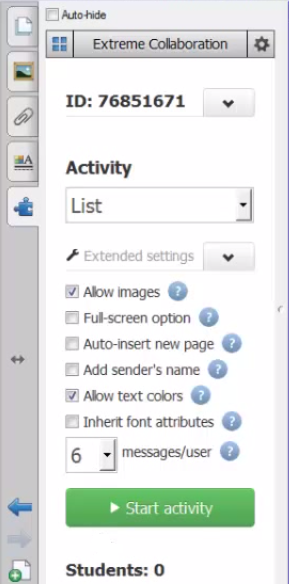 Adjust the extended settings, if desired by pressing the arrow beside "Extended settings".
- Adjust the extended settings for the activity by choosing to:
- Allow images
- Full-screen option
- Auto-insert new page
- Add sender's name
- Allow text colours
- Inherit font attributes
- Change the number of messages per user (maximum 10)
- When ready, press "Start activity".
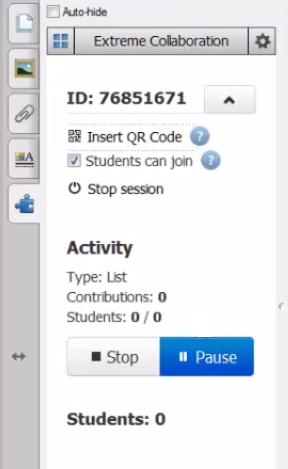 To allow students to join, press the arrow beside the "ID:########".
- Click on "Insert QR Code" to allow the QR code to show up on the main screen.
- Ensure the box "Students can join" is checked off.
- If at any point you want to control what the students are seeing, you can pause and resume the activity at any time by clicking on the "Pause" button.
- When the activity is done, press "Stop". You can save the activity to reference at a later date or post on the classroom website.